How to split dedicated servers into a virtual private server?
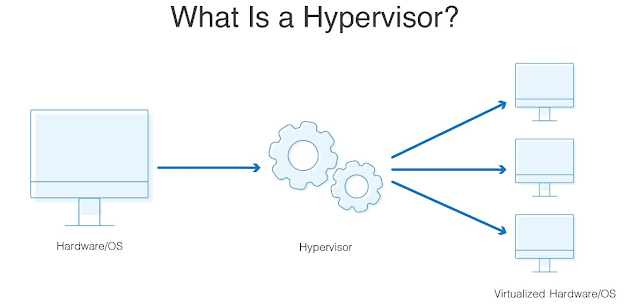
Splitting a dedicated server into virtual private servers (VPS) involves creating multiple isolated virtual environments that can run their own operating system and applications. This can be accomplished using a virtualization technology such as VMware, KVM, or Xen.
Here
are the general steps for splitting a dedicated server into VPS:

Install
the virtualization software: Once you have chosen a virtualization technology,
you will need to install the appropriate software on your dedicated server.
Configure
the virtualization software: Configure the virtualization software to create
the virtual machines that will become your VPS.
Allocate
resources to each VPS: Allocate resources such as CPU, memory, and disk space
to each virtual machine. This will determine the performance of each VPS.
Install
the operating system and applications: Once you have created the virtual
machines, you can install an operating system and applications on each one,
just as you would with a physical server.
Configure
networking: Configure networking settings for each VPS, such as IP addresses
and routing rules.
Test
and optimize: Once you have created and configured your VPS, test each one to
ensure it is working correctly. You may also want to optimize performance by
adjusting resource allocation or other settings.
It
is important to note that splitting a dedicated server into VPS requires
technical expertise and can be time-consuming. If you are not comfortable with
these steps, it may be best to hire a professional to help you with the
process.
How to choose a best virtualization technology?
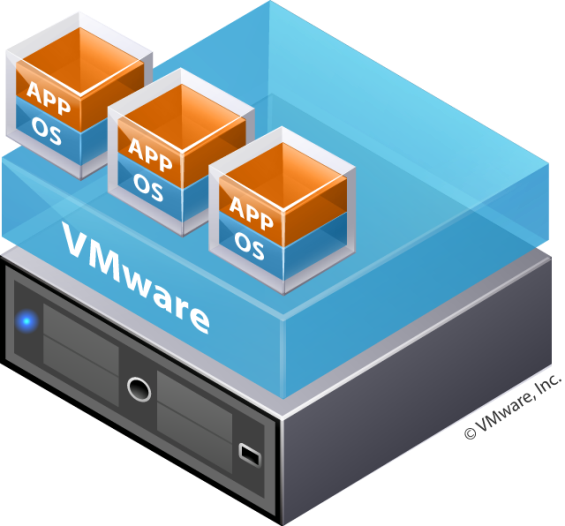
VMware:
VMware is a leading virtualization technology that provides high performance,
scalability, and reliability. VMware is also easy to use and has a large community
of users. However, it can be expensive compared to other options.
KVM:
KVM is an open-source virtualization technology that is included in the Linux
kernel. It provides high performance, scalability, and reliability, and is also
cost-effective. However, it can be more difficult to use than other options and
may require more technical expertise.
Xen:
Xen is a hypervisor-based virtualization technology that provides high
performance and scalability. It is also cost-effective and widely used.
However, it may not be as easy to use as other options and may require more
technical expertise.
Hyper-V:
Hyper-V is a virtualization technology developed by Microsoft for Windows-based
systems. It provides high performance, scalability, and reliability, and is
also easy to use. However, it can be expensive compared to other options and
may be limited to Windows-based systems.
OpenVZ:
OpenVZ is a container-based virtualization technology that provides high
performance and scalability. It is also cost-effective and easy to use.
However, it may not be as reliable as other options and may require more
maintenance.
Ultimately,
the choice of virtualization technology depends on your specific needs and
requirements. Consider factors such as performance, scalability, reliability,
ease of use, and cost when choosing the best virtualization technology for creating
VPS.
How to Install the virtualization software?
Check
system requirements: Before installing the virtualization software, make sure
your dedicated server meets the system requirements for the software. Check the
software documentation or website for details.
Download
the virtualization software: Download the virtualization software from the
vendor's website or repository. You may need to create an account and obtain a
license or key to download the software.
Install
the software: Follow the installation instructions provided by the vendor to
install the virtualization software. This typically involves running an
installer script or package, and accepting the license agreement and other
prompts.
Configure
the software: Once the software is installed, you may need to configure it to
suit your needs. This may include setting up network interfaces, storage
devices, and other settings.
Verify
the installation: Verify that the virtualization software is installed correctly
by checking the version number and running basic commands. You may also want to
test the software by creating a virtual machine and verifying that it can be
started and stopped.
It is important to follow the installation instructions carefully and to ensure that the virtualization software is installed correctly to avoid issues later on. If you are not comfortable with the installation process, consider hiring a professional to help you.

Comments
Post a Comment